Reflective Creative Planner Guide
Use Planner
How to Get Started Using Your Planner
1. Import (or Open) the planner document into your PDF reader
Note: This example
is showing how to
use the planner in
GoodNotes. The
process should be
similar in ZoomNotes
or other PDF reader
apps. If you have
questions, contact
me for support.
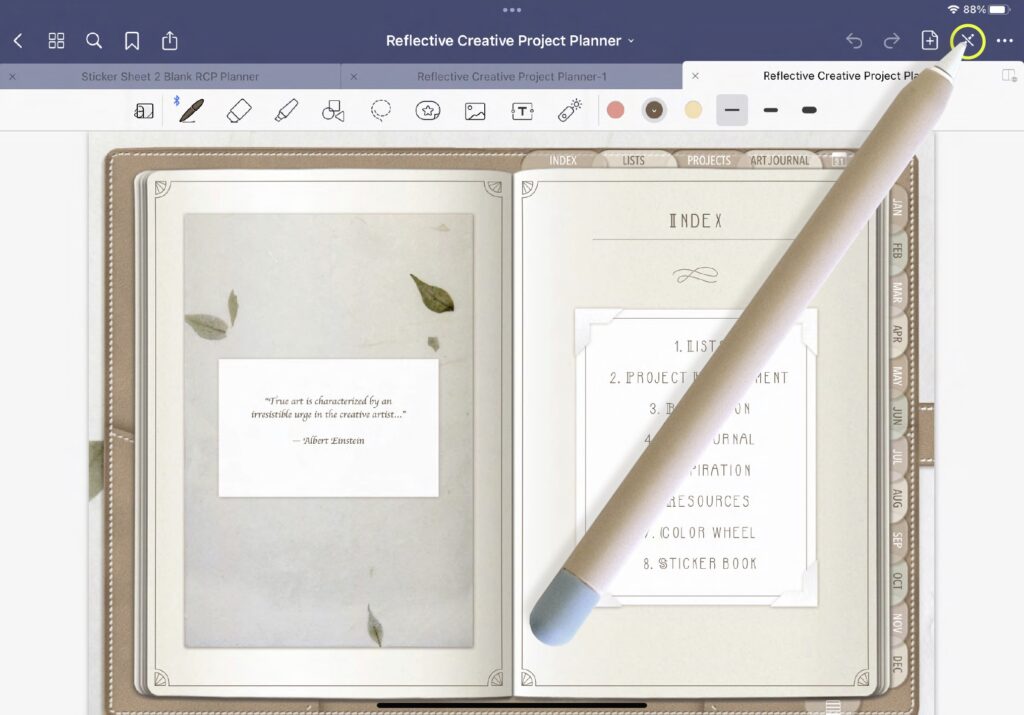
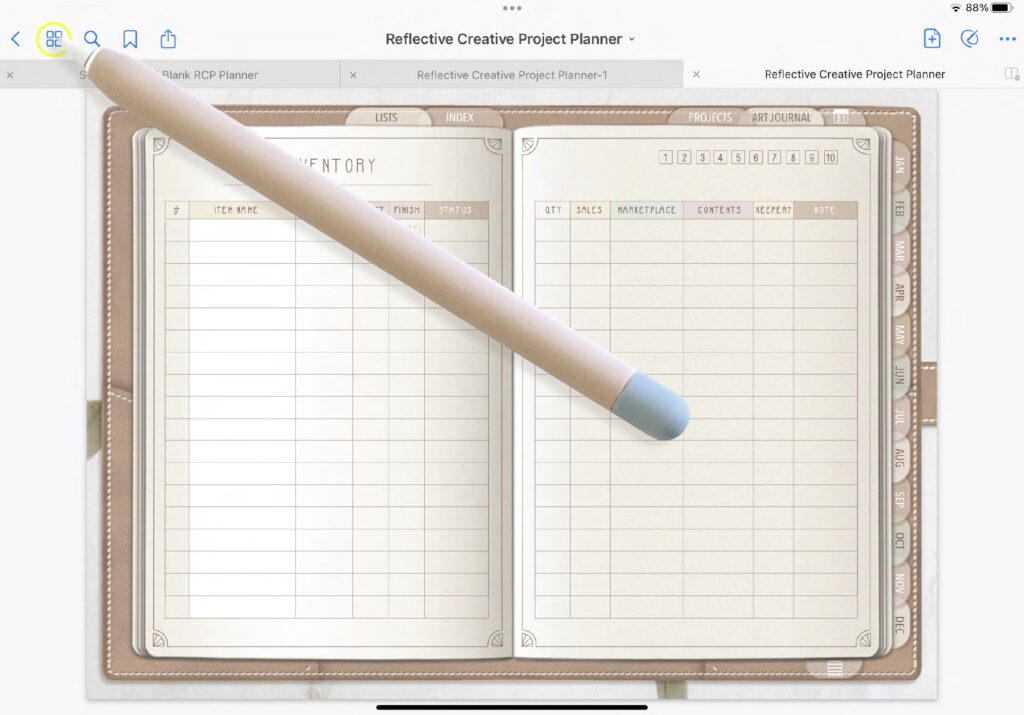
2. Click on the Pencil icon to toggle between writing and read-only mode. To navigate
the planner, you must click this button again to enable read-only mode.
Note: This example
is showing how to
use the planner in
GoodNotes. The
process should be
similar in ZoomNotes
or other PDF reader
apps. If you have
questions, contact
me for support.
Interface
How to Navigate the Planner
1. Import (or Open) the planner document into your PDF reader
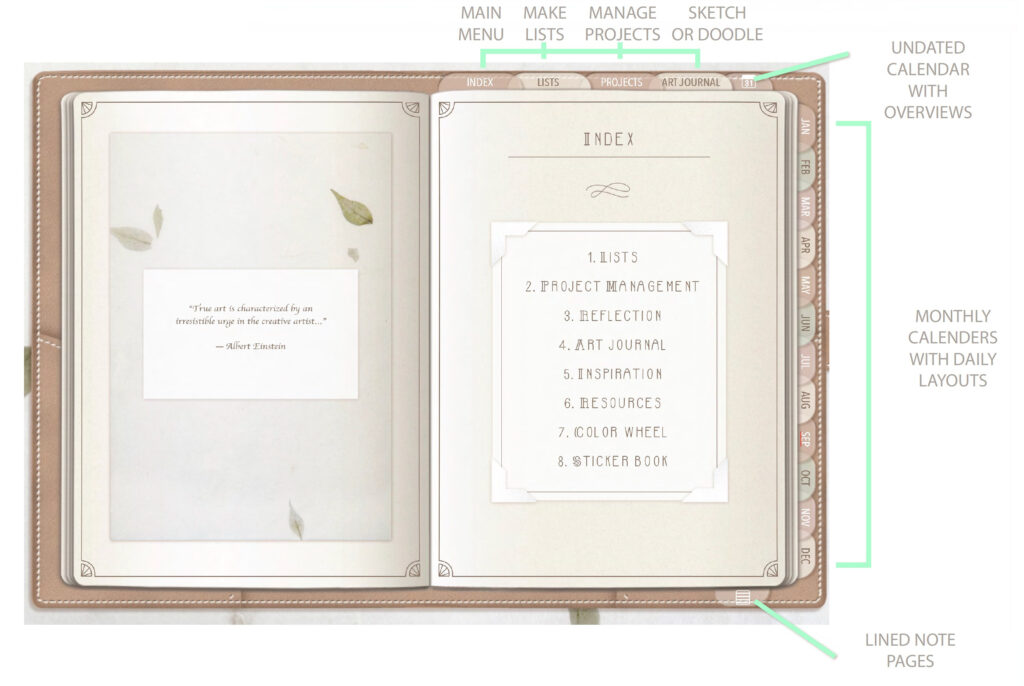
Note: This image shows what content is linked to each tab in the planner.
Add Extra Pages
How to Add Extra Pages to Your Planner
1. In the planner, navigate to the page you wish to add a copy of.
Note: Extra pages are
provided for select
spreads only.
2. Click the 4 boxes icon at the top left of your screen to view the planner pages.
Note: Extra pages are
provided for select
spreads only.
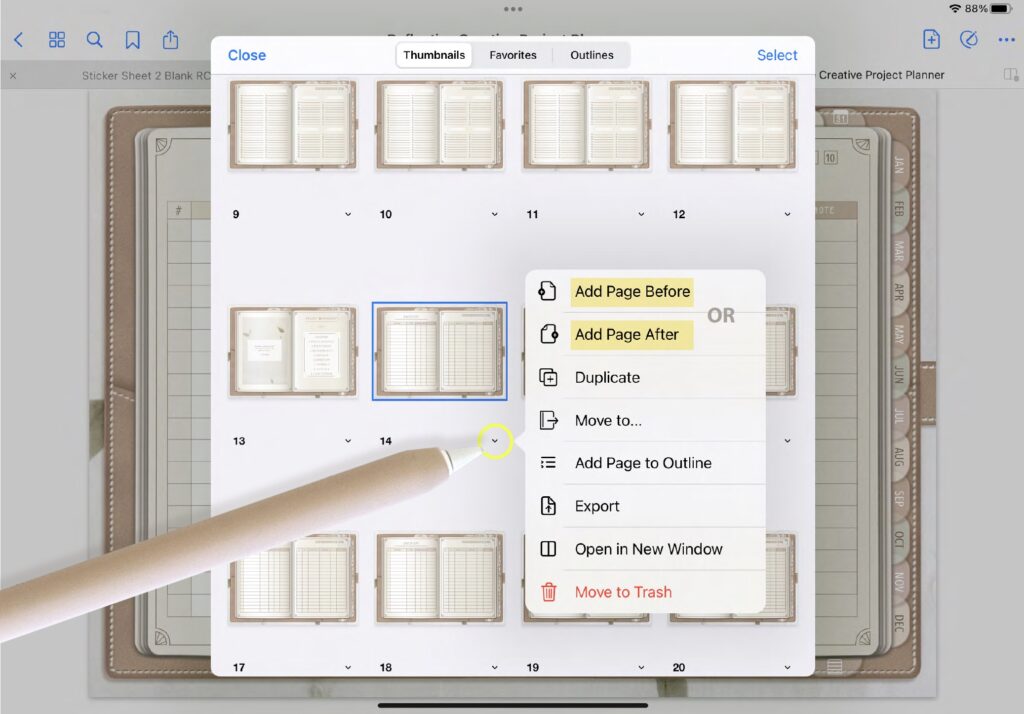
3. Click the drop down arrow and choose the page you wish to insert as a copy. Choose “Add
Page Before” or “Add Page After” depending on where you want the new copy.
Note: Extra pages are
provided for select
spreads only.
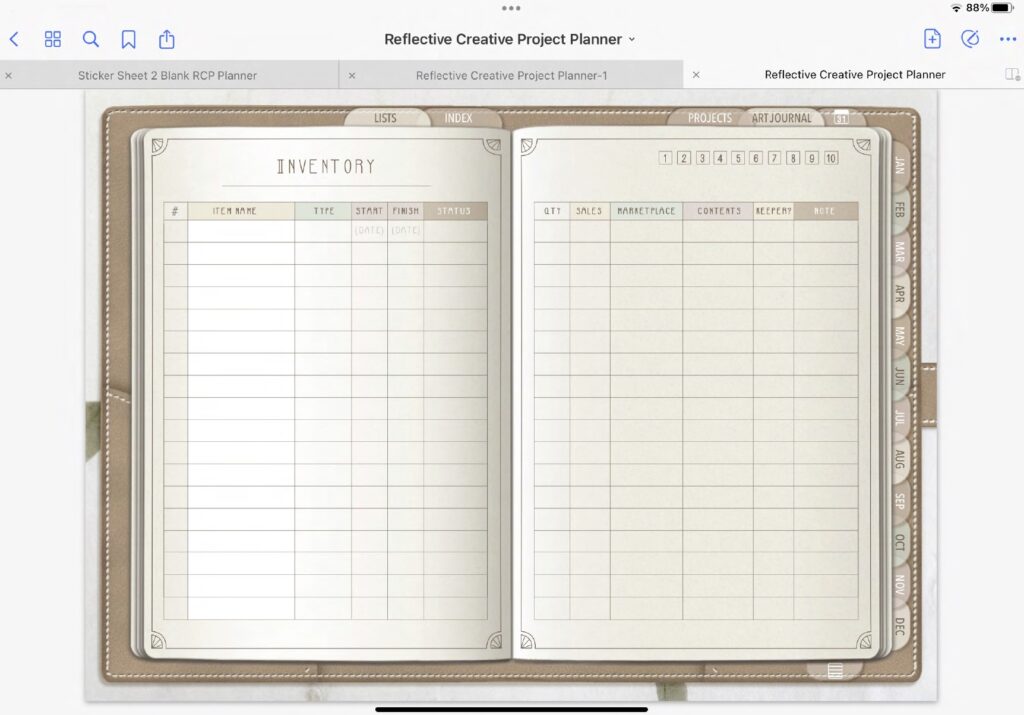
4. To view your extra page, swipe either before or after the page where you added it to your
planner. The new page will not be accessed by the planner buttons.
Note: Extra pages are
provided for select
spreads only.

Add Stickers
How to Add Stickers to Your Planner
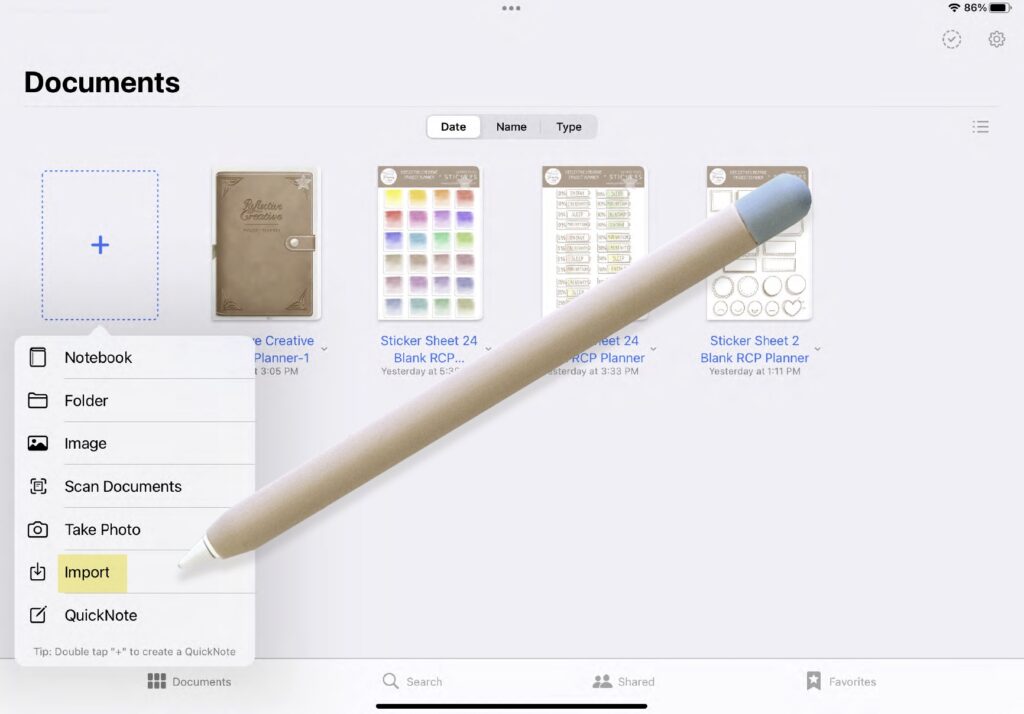
1. In GoodNotes, go to the main screen, click the + button and choose Import.
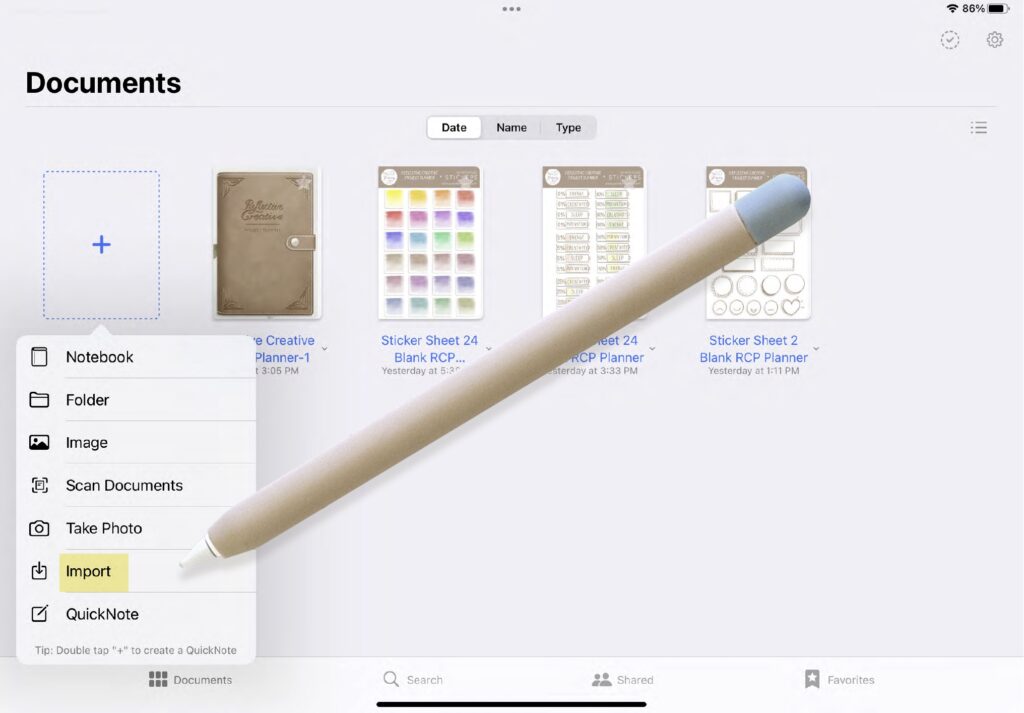
Note: Add from a GoodNotes Sticker sheet (Use only with GoodNotes).
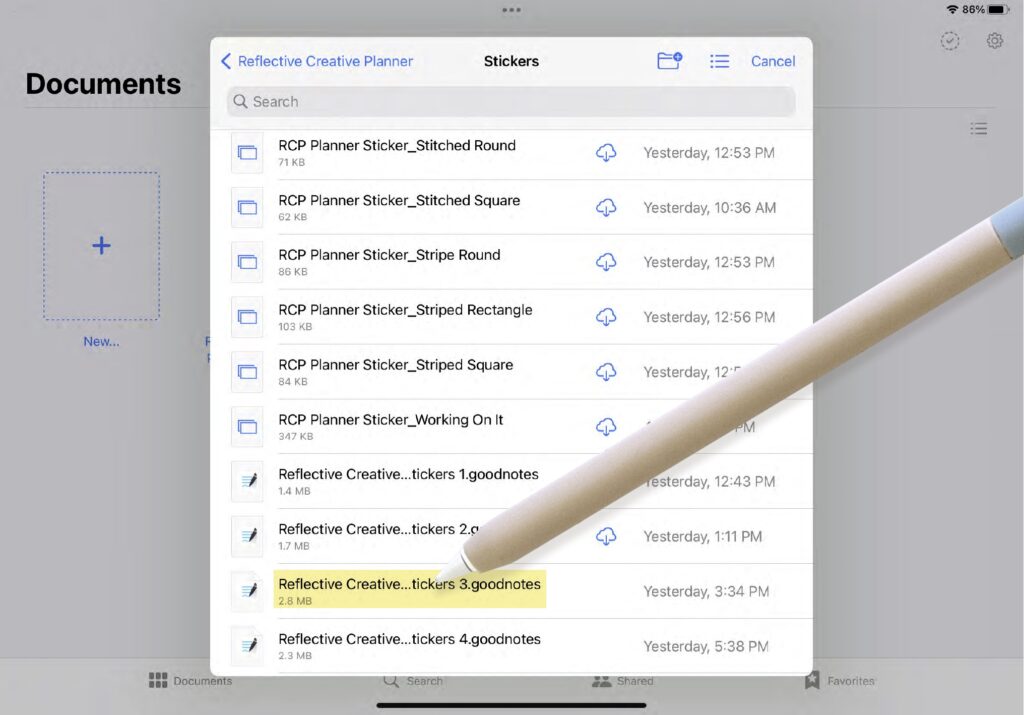
2. Locate and choose the GoodNotes sticker sheet you on your tablet.
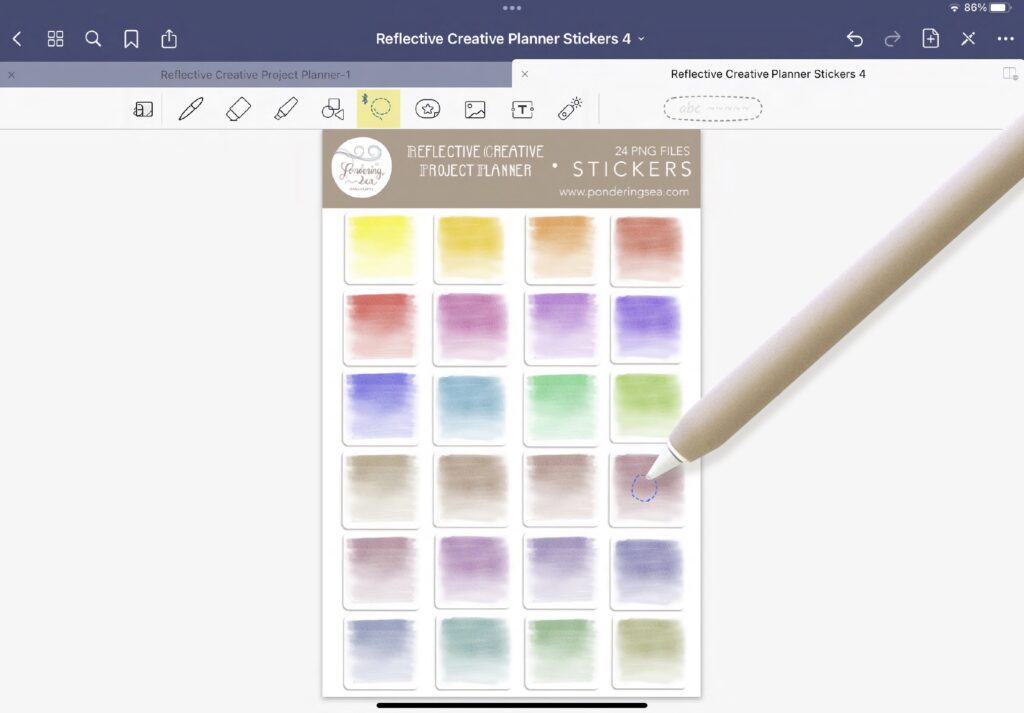
3. At the top of your screen, choose the lasso tool and draw a selection of any shape
over the sticker you wish to copy.
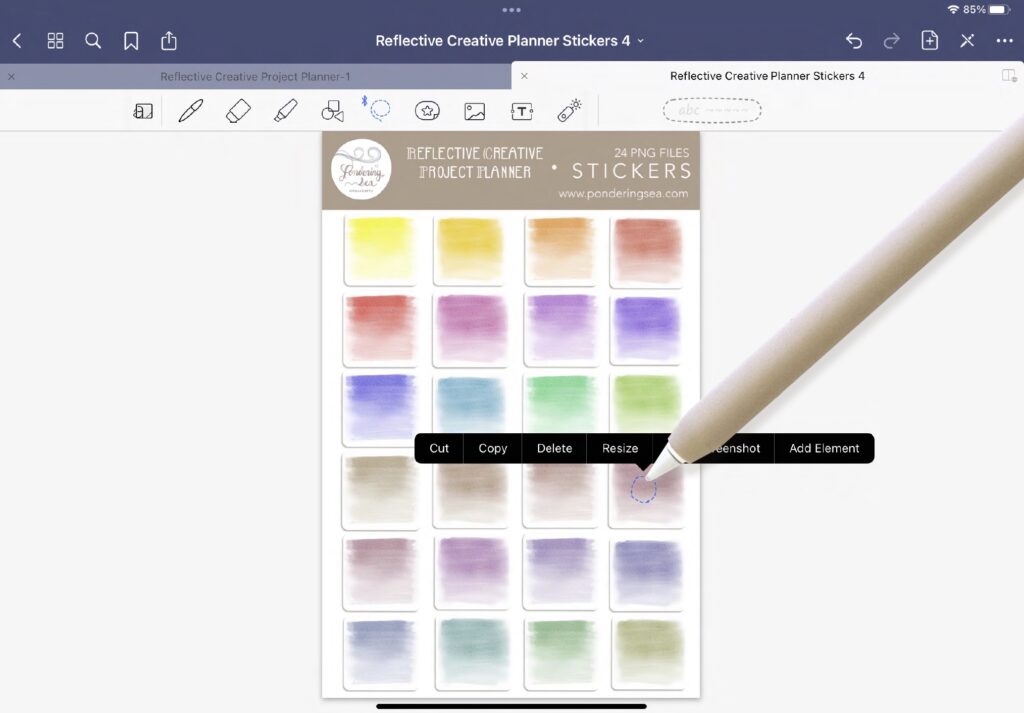
4. With the sticker selected, tap once and choose copy from the menu that appears.
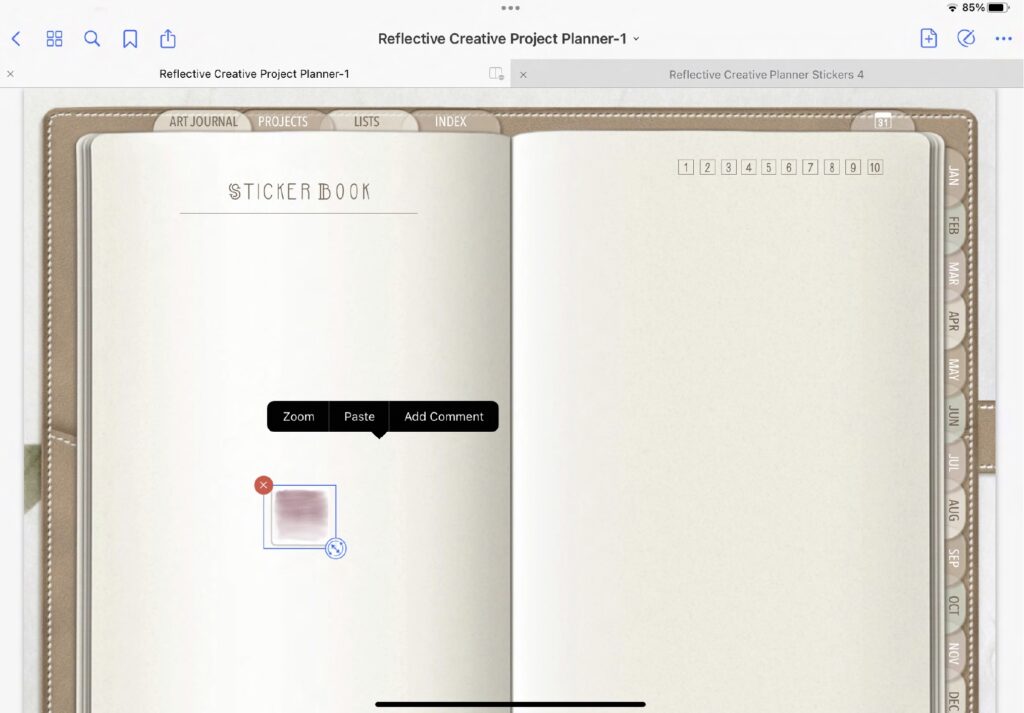
5. Go to the page in your planner where you want to place the sticker, tap the page
once and choose Paste to paste your sticker.
6. Go to the page in your planner where you want to place the sticker, tap the page
once and choose Paste to paste your sticker.
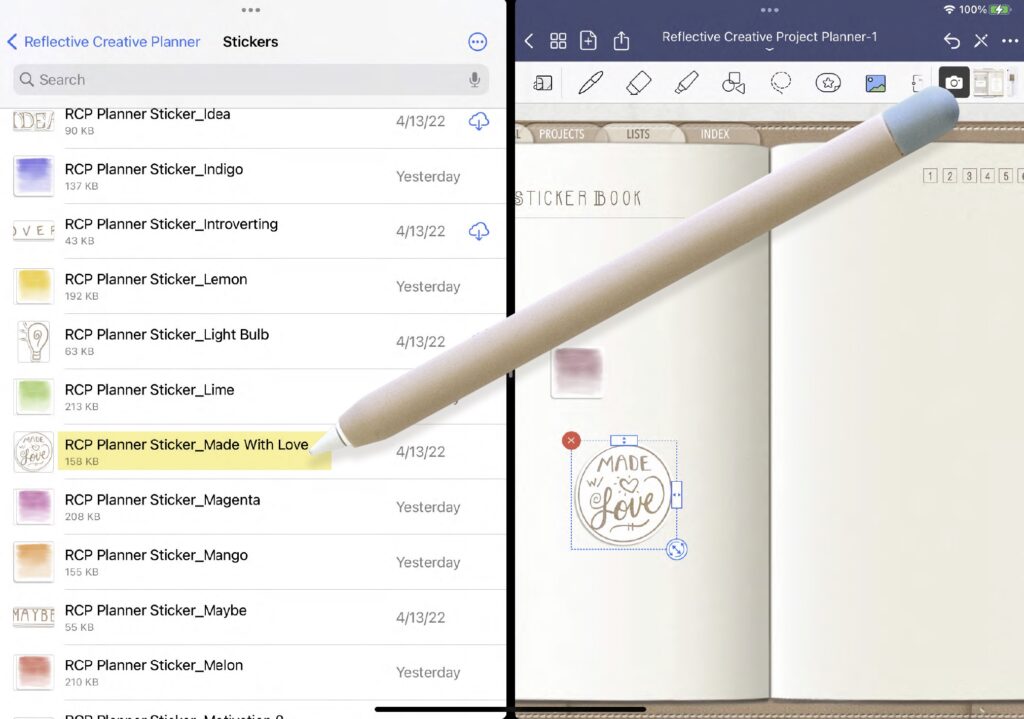
Note: Add a sticker as a PNG from a folder on your tablet.